 |
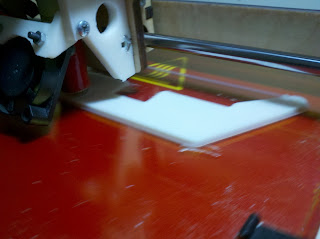
| Printing out the first half of the Y carriage |
 |
| I had to update the design of my Y idler to accommodate the huge belt idler . |
 |
| Out with the old and in with the new |
 |
| Realized I didn't draw any holes for the zip-ties, guess I'll have to drill them out by hand |
 |
| Starting the second Y carriage |
 |
| Weeeee I'm a plane! |
Drilled out the zip-tie holes, crammed the linear bearings and did some post processing. Everything fits, woohoo! Just waiting for the second part to finish so I can test fit the heat bed.
Need to purchase some 1/4" nuts later.
Looking good so far!


No comments:
Post a Comment