Showing posts with label QUBD. Show all posts

Wednesday, September 11, 2013

Build Log #37

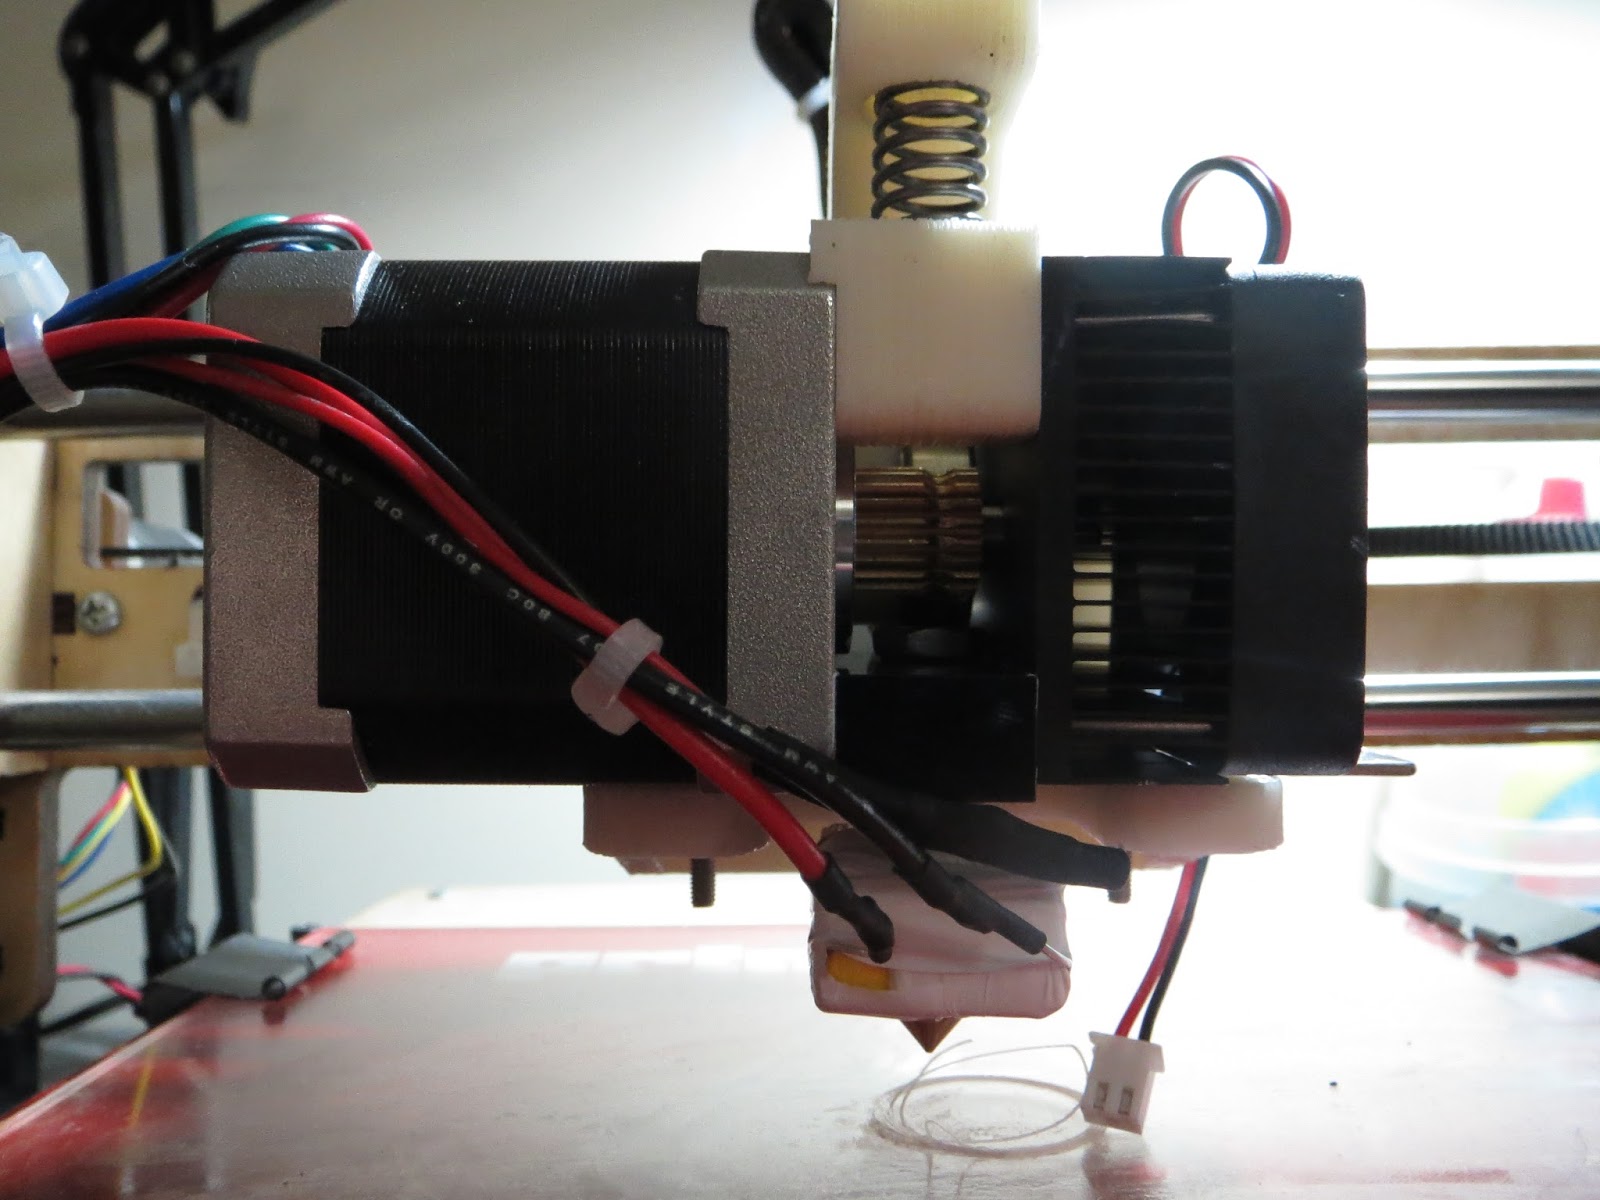
Time for a quick build log. Logged about 10 hours of print using the 3DPrintMi Plus with the E3D Hotend and it prints great! I made a few changes to the new Direct Drive by adding a filament guide since the filament buckled as predicted. The only thing I dislike about the E3D is the fan mount. It doesn't have a tight grip on the heatsinks so it just vibrates, creating a god awful noise. I'm going to have to ziptie down because I can't have that type of noise during Makerfaire NYC.

Speaking of Makerfaire, I will be exhibiting the 3DPrintMi this year in NYC. I'm pretty excited and I hope 3DPrintMi gets at least some publicity. I really don't think the RepRap community knows about the 3DPrintMi, even after it placed third in the Gada Prize. When Josef Prusa did his presentation, "State of the RepRap," at the Open Hardware Summit 2013,  I was pretty disappointed that he only displayed the first and second place Gada prize winners, the RepRap Morgan and RepRap Simpson. For whatever reason, I just hope 3DPrintMi will make an impression at Makerfaire NYC. Please come see me at the 3D Printer Village!
Exhibit #11402

Also, I revived my first 3DPrintMi and gave it a new home. It now resides at the Hackerspace, Ideas to Things. 
3DPrintMi Mini

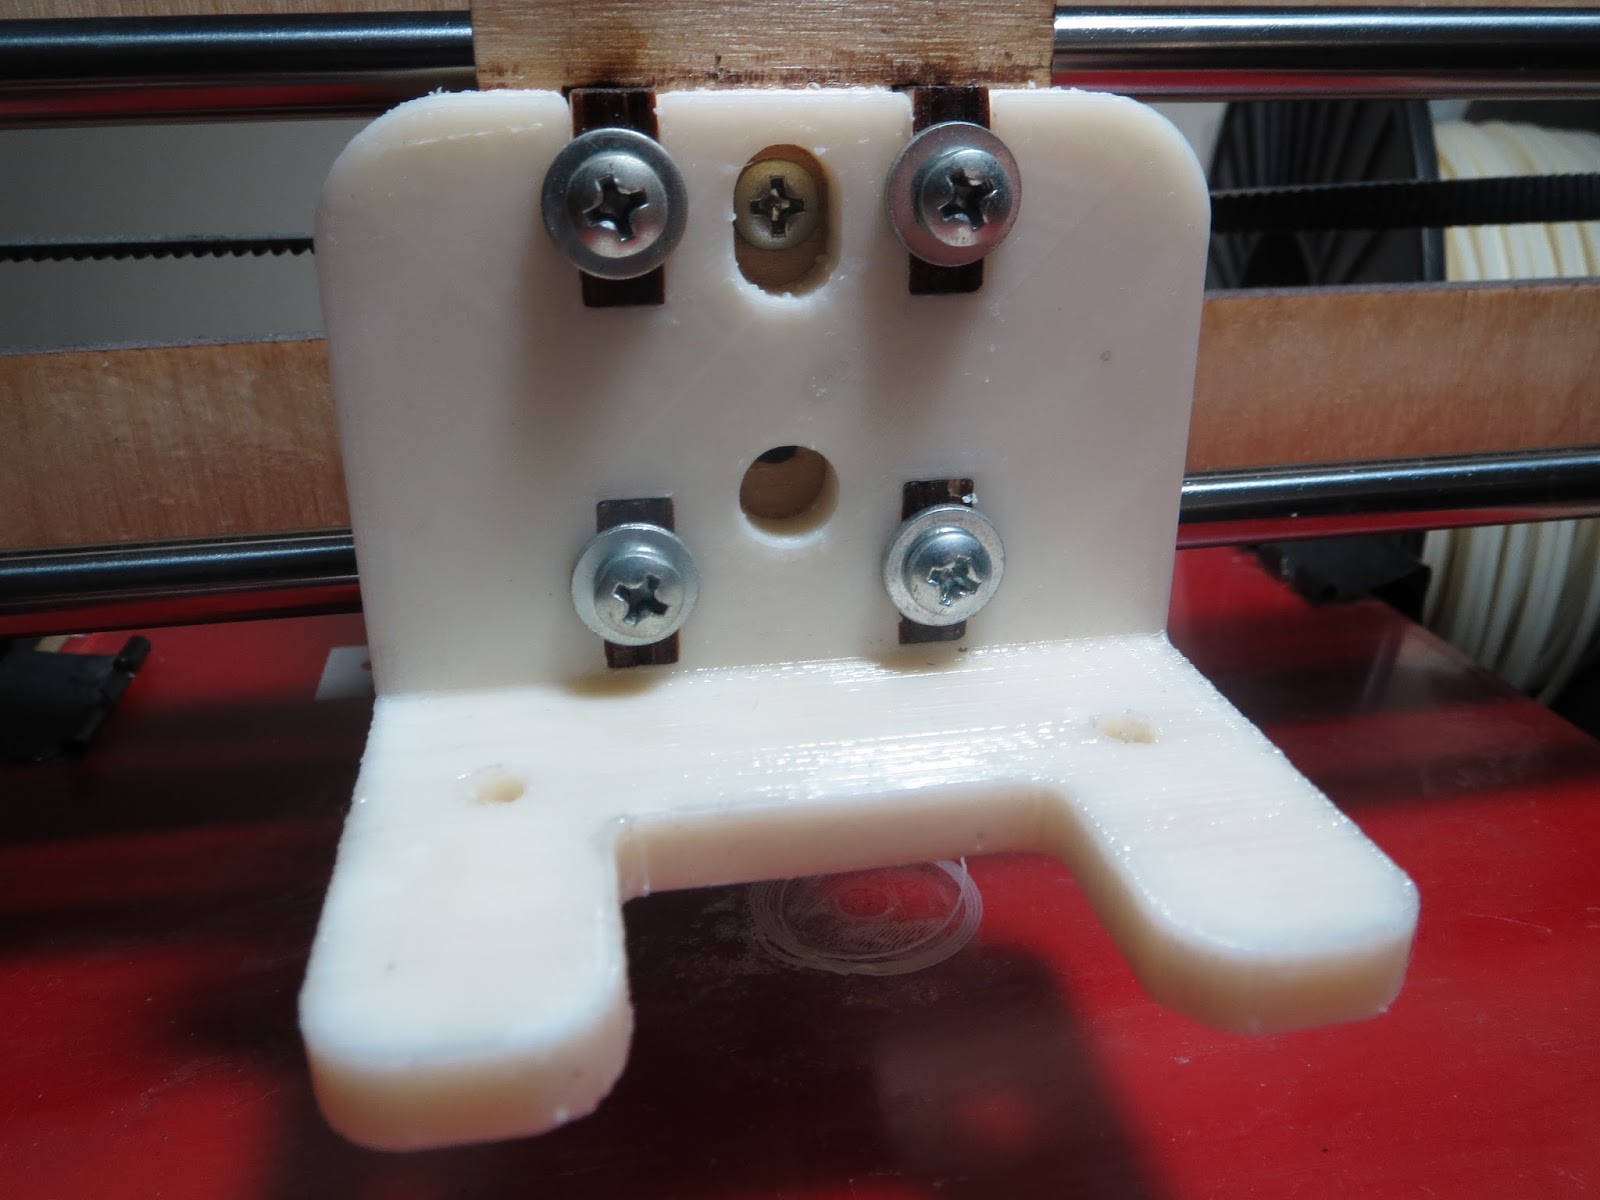
For those wondering about the Direct Drive extruder, it's now up on Thingiverse. So far, it only has the E3D mount but working on a Ubis and JHead. The Ubis is currently being tested and been hearing good things so far.
Vert Extruder


Little sneak peak on the re-designed X Ends I'm working on. 
Re-designed X Ends

Tuesday, July 30, 2013

Build Log #34 - Custom QU-BD Mount

Documenting my custom QU-BD mount mod and this time I mounted the 2nd QU-BD extruder onto my Printrbot Plus. It's basically the same exact setup on my 3DPrintMi so it's fine to use this post as a reference. The advantage of this mod is that it allows you to mount the QU-BD parallel to the universal mount. The weight is evenly distributed and the motor isn't sticking it's fat ass out in the open. 


Universal Plate marked
Cut the blue line with a dremel, turning the holes into a slot. If you have a mill, use that instead. 


Should look like this. Cut as close as you can to the tangent.

File it down to get a nice straight slot. Debur the edges.

Nice and clean

Personally, I would scrap the filament drive block and replace it with MickB's lever mod. It's way better than using the screw and you won't be able to access it when you mount it.

Just need one nut on the stainless steel barrel. 

Use the other nut to lock the stainless steel tube on the cold end


Remove the 4 screws holding the extruder mount


Install the new extruder mount

Test mount.

Assembled with lever mod


I like to use teflon tape aka pipe thread tape to insulate my hotend. I would wrap the hotend with ceramic insulation and secure it with kapton tape. Then I give a few good wraps with the teflon tape, giving it a nice clean look. Stuff never burns.


Insert the universal mount and tighten the nut down.


Should have just enough space to insert the bolts. If you can't see the slots, it's on the wrong side.


Works on the first try. Yay.