For the past 3 weeks, 3DPrintMi has been working really hard, printing out set after set. To this date, 3DPMi produced three whole sets and starting on the 4th in a couple days. The glass swap method really sped up the production process and if I were to print back to back, I can get a whole set done in 4 days. Since it takes about 11 print sessions to finish a whole set, I have a schedule to print one in the morning, afternoon and at night.
I've been thinking about how to speed up the production process, aiming to have a whole set in 3 days or less. Speeding up the print speed gave diminishing results, probably saving me only 20 minutes which is not what I'm looking for. In order to tackle this, I would need to increase the bed size to the Mendel standard size, 200mm x 200mm. With a bigger build plate, I can add more parts into the print session thus speeding up the production process. Since it's physically impossible to print a carriage larger than the build plate, I would need to add an attachment instead.
 |
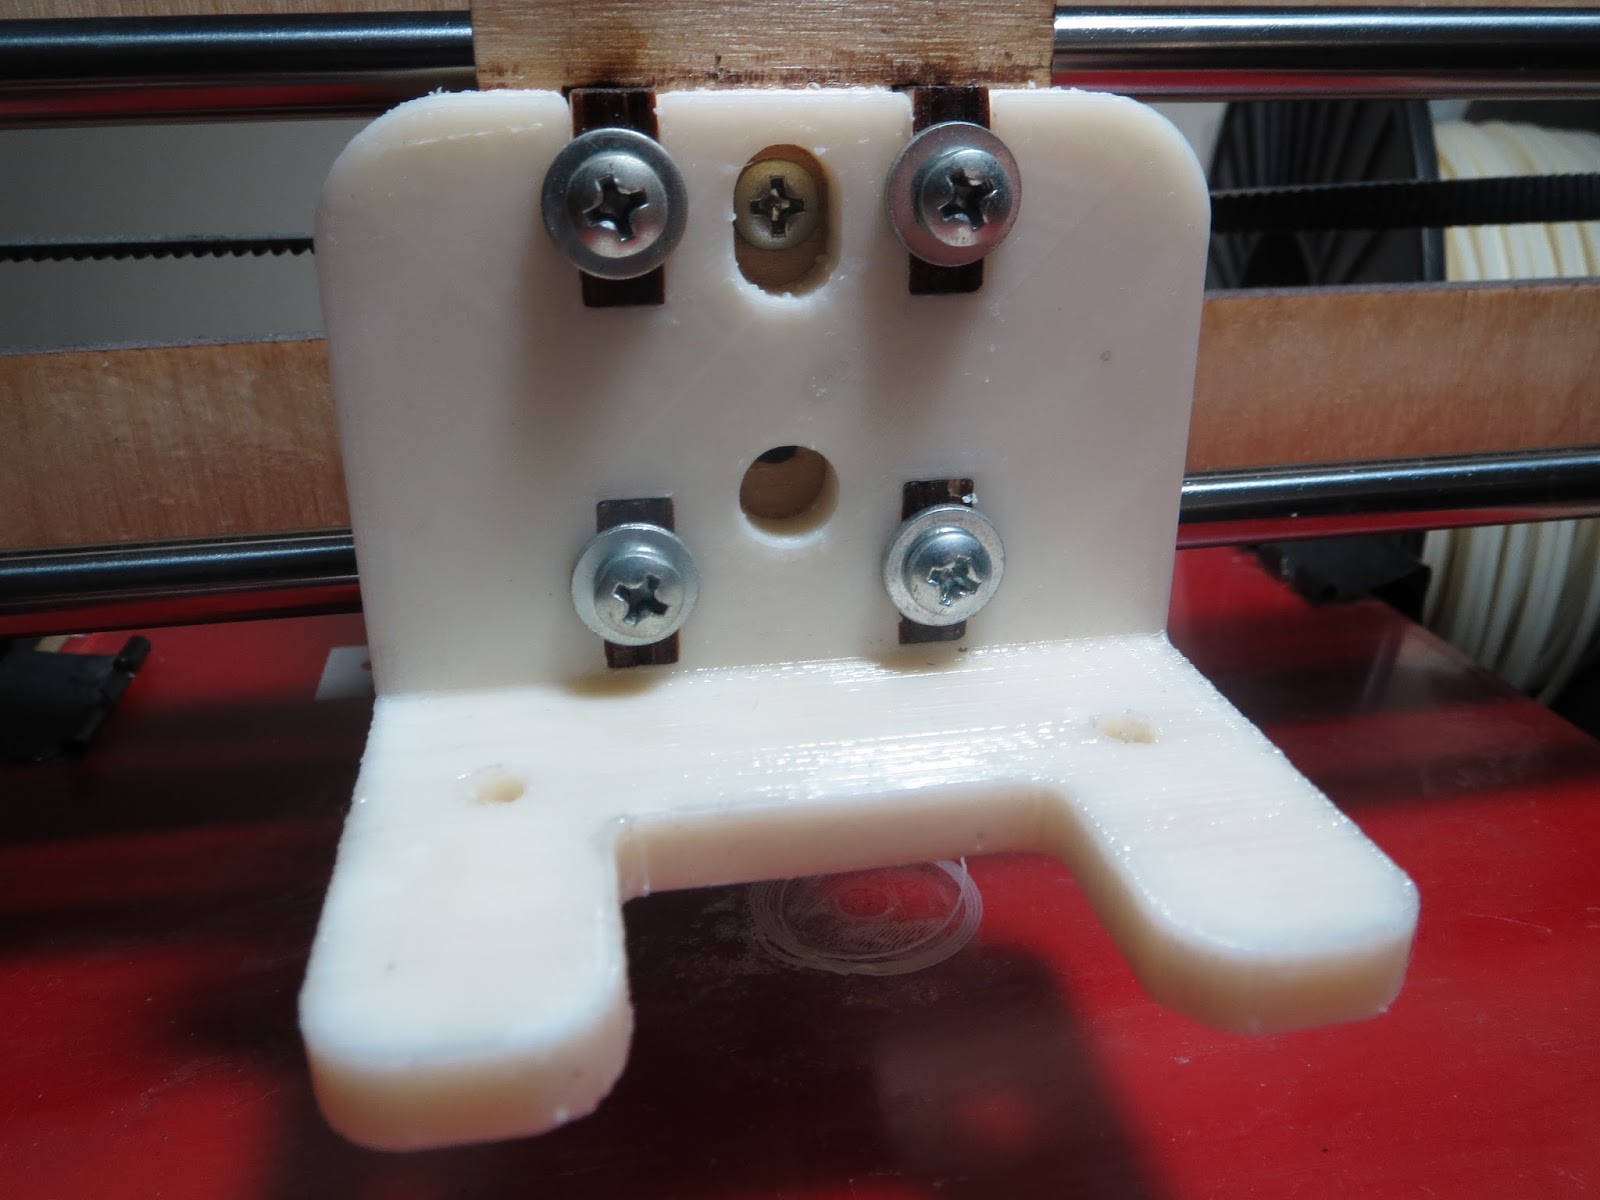
| CAD assembly of the Y carriage with attachments. |
 |
| The Y carriage will have an additional hole in order for the attachment to remain secure. |
I have already ordered the necessary parts to start increase the build plate on my current printer. As I wait for the parts, I will need to play with the dimensions of the frame so the parts don't crash into each other. I am just hoping the threaded rods will not flex as I move farther away from the base frame.
 |
| Mutant Printrbot Overhaul |
Decided to rebuild the first 3DPMi or "Mutant Printrbot." Once I figure out how to get the Brainwave to work and the 3DPMi plus version is completed, I will transfer the small 152mm x 152mm plate to this guy. I starting to run out of space so I need to figure out where to put it.
 |
| Mutant Printrbot Disassembled |
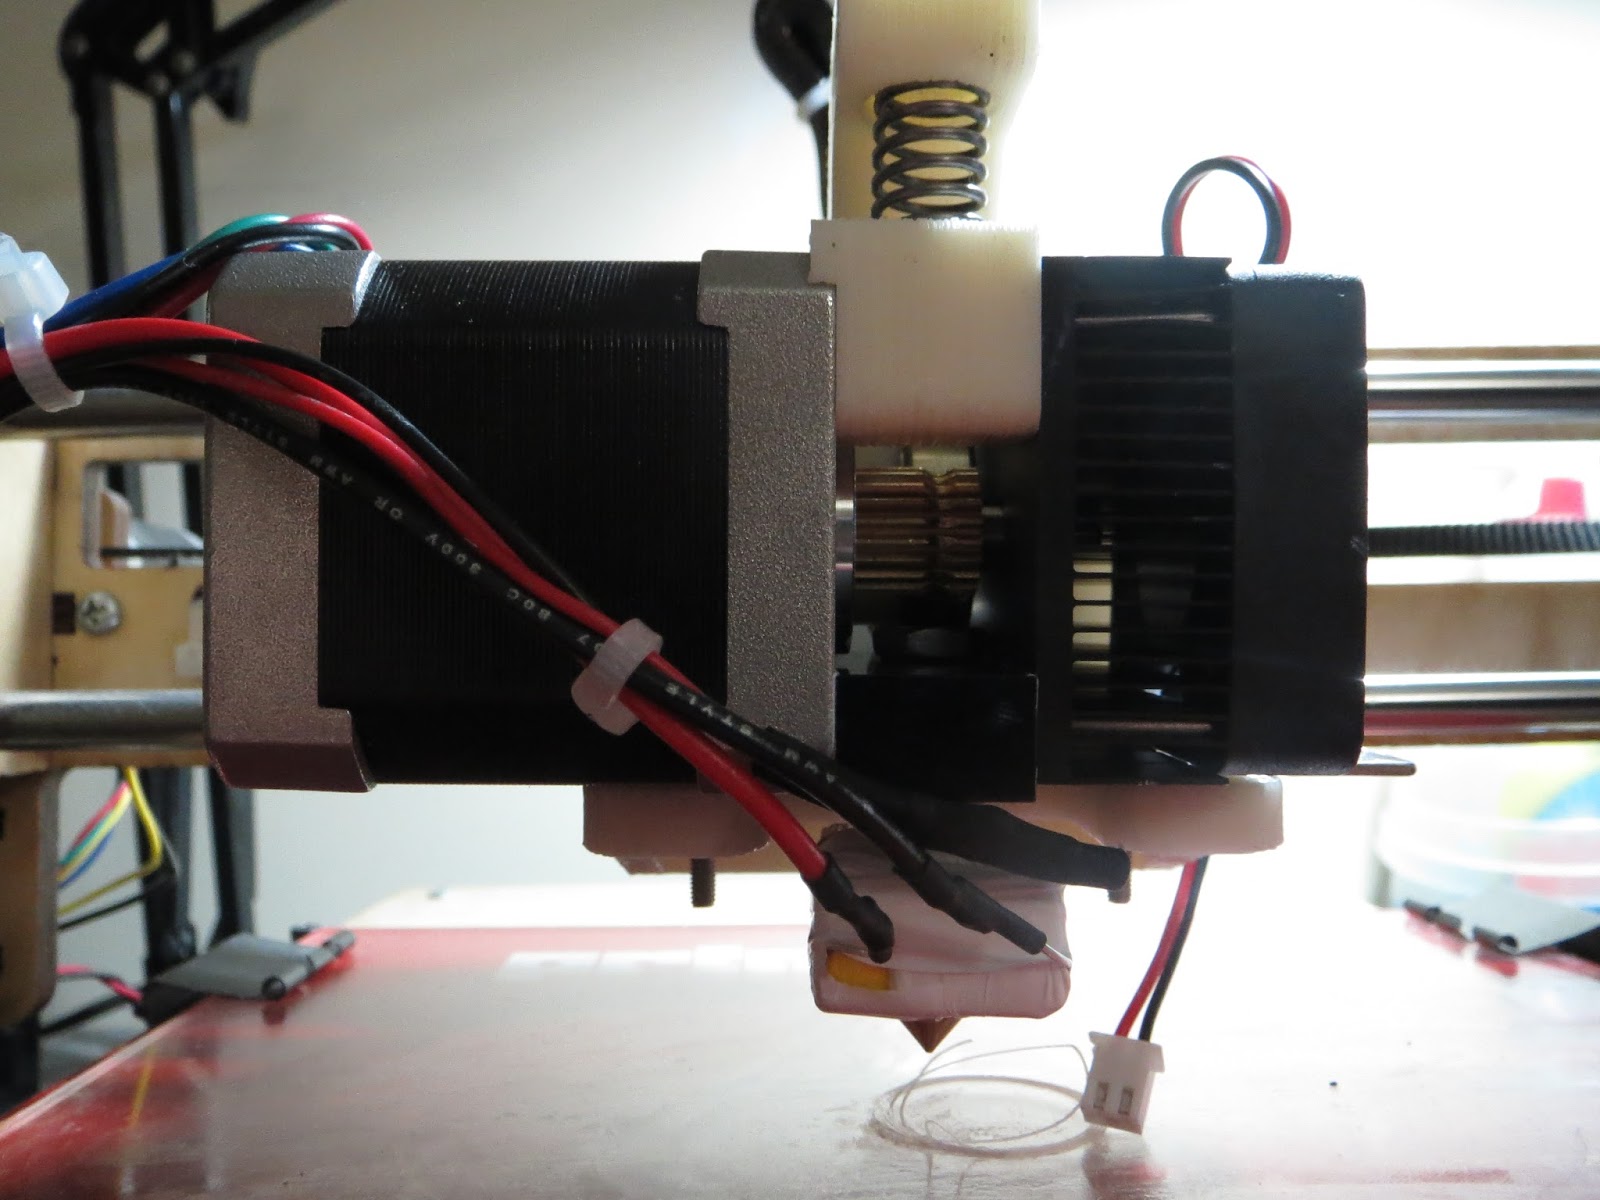
Since my Printrbot Plus sits idle most of the time, it would be great if I could use him to help with the production. I purchased another QU-BD MBE since it's the cheapest extruder out there and wanted to continue using the 1.75mm filament. Just seems nicer to work with but 3mm isn't all that bad either. Sporting a .25mm nozzle, my Ubis Hotend has been configured to print highly detailed parts. Even though parts will come out real nice, it would take forever to print a set and if there's one thing I learned about 3D Printing is that time is valuable.
In my next blog, I will document how to retrofit a QU-BD extruder to the Printrbot LC machines. It's pretty much the same setup as my 3DPMi, just with a new extruder mount made for the PB LC.